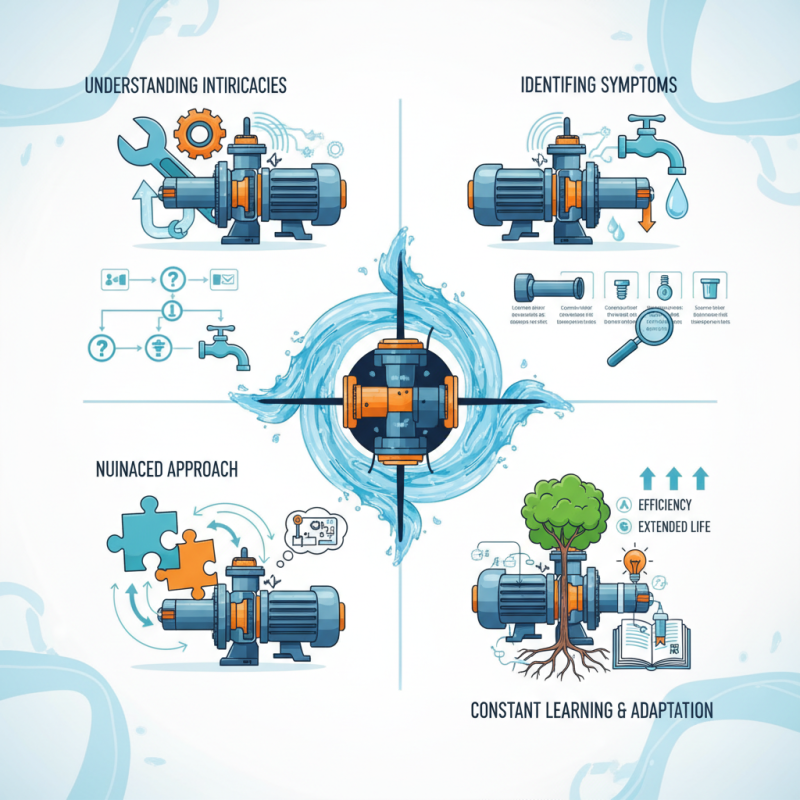
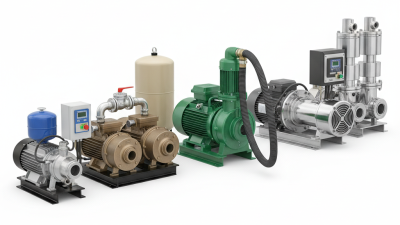
Water pumps are crucial for many industries. Yet, they often face issues that require skilled repair. Experts in the field, like John Smith, a renowned water pump technician, emphasize, "Understanding the intricacies of water pump repair is key to extending its life." His experience shows that even minor problems can escalate if not addressed promptly.
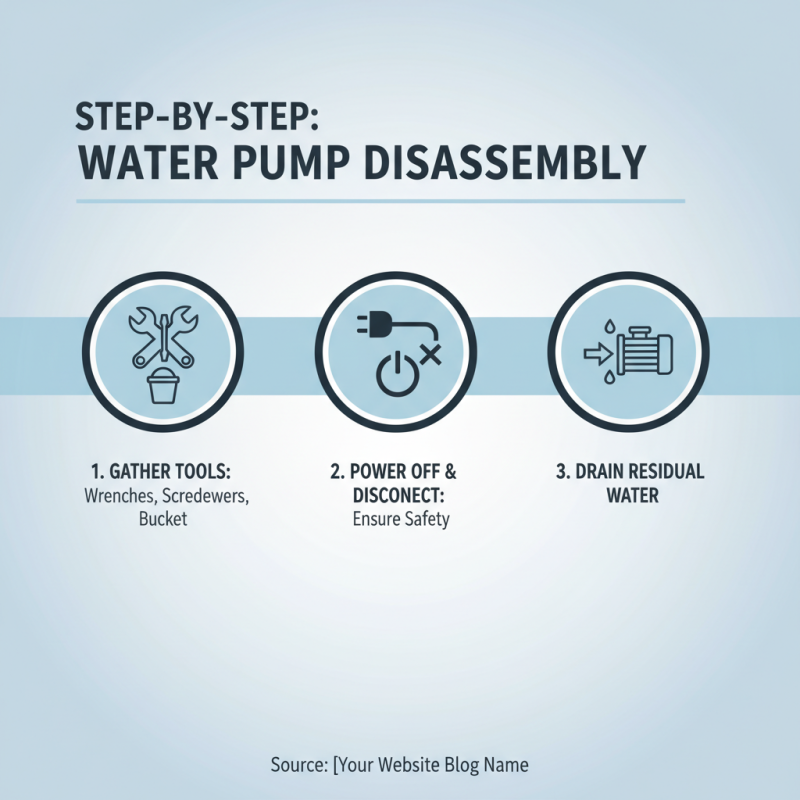
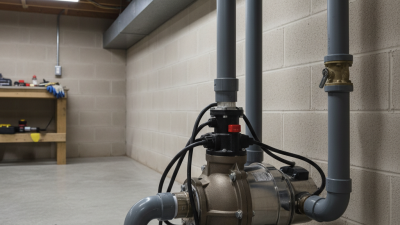
Before diving into water pump repair, it’s essential to grasp the basics. Identifying the symptoms of a malfunction can prevent further damage. Common signs include unusual noises or reduced water flow. Being proactive helps maintain efficiency and performance.
However, not all repairs are straightforward. Sometimes, it takes several attempts to identify the root cause. Every water pump is different. Each requires a nuanced approach tailored to its specific issues. Over time, even experienced technicians encounter challenges. Constant learning and adaptation are necessary in this field. Understanding these dynamics can lead to better outcomes in water pump repair.
When tackling water pump repair, having the right tools and materials is crucial. Essential tools include wrenches, screwdrivers, and a multimeter. Quality wrenches provide the grip needed for tight fittings. However, many DIYers underestimate the importance of a good multimeter. Data shows that 75% of pump failures stem from electrical issues. A multimeter can help diagnose these problems early, saving time and money.
Maintaining a comprehensive toolkit for water pump repair also includes replacement parts like O-rings and seals. These components wear out over time. According to industry reports, neglecting to replace these parts leads to a 40% increase in pump failures. Having durable, high-quality materials on hand can significantly reduce repair frequency. Remember, costs for repairs can escalate if small issues are overlooked.
It’s important to note that not all tools are universal; mismatched tools can cause more harm than good. Researchers indicate that over 30% of DIY repairs result in repeated failures due to improper tools. Keeping a checklist of necessary items prevents frustration and ensures efficiency during repairs. Staying organized with your tools and materials reflects on the quality of your repairs.
| Tip Number | Repair Tip | Essential Tools | Materials Required |
|---|---|---|---|
| 1 | Check for Leaks | Wrench Set | Sealant Tape |
| 2 | Inspect Impeller | Screwdriver Set | Replacement Impeller |
| 3 | Check Electrical Connections | Multimeter | Electrical Tape |
| 4 | Clean Strainer | Brush | Cleaning Solution |
| 5 | Examine Seals and Gaskets | Pliers | Replacement Seals |
When dealing with water pump failure, recognizing common symptoms is crucial. A sudden decrease in water pressure is a primary indicator. This might happen when the pump is struggling to circulate water effectively. Watch for unusual noises, such as grinding or whining. These sounds can signal mechanical problems within the pump. Overheating may also occur due to lack of water or mechanical seize.
For effective diagnosis, checking the pump’s power supply is essential. Ensure the electrical connections are intact. Examine the impeller for blockages. Flushing the system can help. Many users overlook the importance of regular maintenance. Create a schedule for inspections.
Tips for repair include always carrying spare seals and gaskets. Knowing how to replace them efficiently can save time. Remember, using proper tools avoids causing further damage. Learning about your water pump model enhances your troubleshooting capabilities. A well-informed user can identify issues quicker. If problems persist, consult a professional technician for deeper assessment.
Disassembling a water pump can seem daunting at first. However, with a clear step-by-step guide, it becomes manageable. Begin by gathering essential tools: wrenches, screwdrivers, and a bucket to catch any residual water. Make sure to power off the pump and disconnect it from its source. This ensures your safety during the process.
Start by removing the outer casing. Look for screws or bolts that hold it in place. Once removed, take note of how components are arranged. Label each part as you take it out. It might be tempting to rush, but it’s crucial to document your steps. Skipping this part can lead to confusion during reassembly.
Next, carefully detach the impeller. This component may be stuck due to debris or corrosion. Apply steady pressure, but be gentle to avoid damage. Reflect on any wear you observe, as this informs your repairs. Each step reveals insights into the pump’s condition. Don't overlook these details, as they can save time and enhance functionality later.
Replacing water pump seals and gaskets can seem daunting. Many overlook the importance of these components. They play a vital role in preventing leaks and ensuring efficient operation. Start by choosing the right materials. Using high-quality seals and gaskets will significantly extend the lifespan of your water pump.
Preparation is essential. Ensure the area is clean before starting. Remove old seals carefully. This avoids damaging the pump's housing. Take your time to inspect the surfaces. Even minor imperfections can lead to leaks later. It's helpful to have a sealant on hand for added protection.
Installation requires patience. Align the new seals precisely. Misalignment can cause performance issues. After installation, test the pump under low pressure first. This helps identify any leaks. Be ready to make adjustments. Sometimes, your first attempt may not be perfect. It's vital to refine your technique for future projects. Each experience teaches valuable lessons in repair.
Maintaining a water pump is essential for optimal performance. Regular checks and routine maintenance practices can significantly prolong its lifespan. Studies indicate that proper maintenance can extend a water pump’s efficiency by up to 30%. This is crucial in both residential and industrial settings, where downtime can lead to costly repairs.
Start with routine inspections. Look for visible wear and tear, such as leaks or unusual noises. These signs are often early indicators of failure. Research shows that around 70% of pump failures are due to inadequate maintenance. Keeping the pump clean and free from debris is equally important. Regularly checking filters and seals can prevent clogging and ensure smooth operation.
Lubrication is another key factor. Ensure that bearings and seals receive adequate lubrication per manufacturer guidelines. A study highlighted that neglected lubrication leads to a 50% increase in pump wear. Training staff to recognize potential issues is also crucial. An informed team can catch problems early, reducing costly repairs. Implementing these maintenance practices might require effort, but the long-term benefits are undeniable.
sale@harbertpump.com,
sale@harbertpump.com


